
Growing Ginger in the North
Ginger started popping up at farmers markets in the Twin Cities of Minneapolis and Saint Paul close to 10 years ago. It fascinated me to see fresh ginger on those chilly autumn mornings. I had never considered growing it myself. And it wasn’t until after that first sighting did I consider it a food we may one day grow here.
Fast forward all those years, and I finally found the time to take on growing ginger. It’s not a crop that takes up much space. In fact, it’s a perfect container garden addition in our climate.
Because our growing season is predictably short, I gave ginger a first try last year in containers. I chose containers because I wanted them to be portable in the event temperatures plummeted in early September and I needed to give them protection. It turned out, it was necessary.
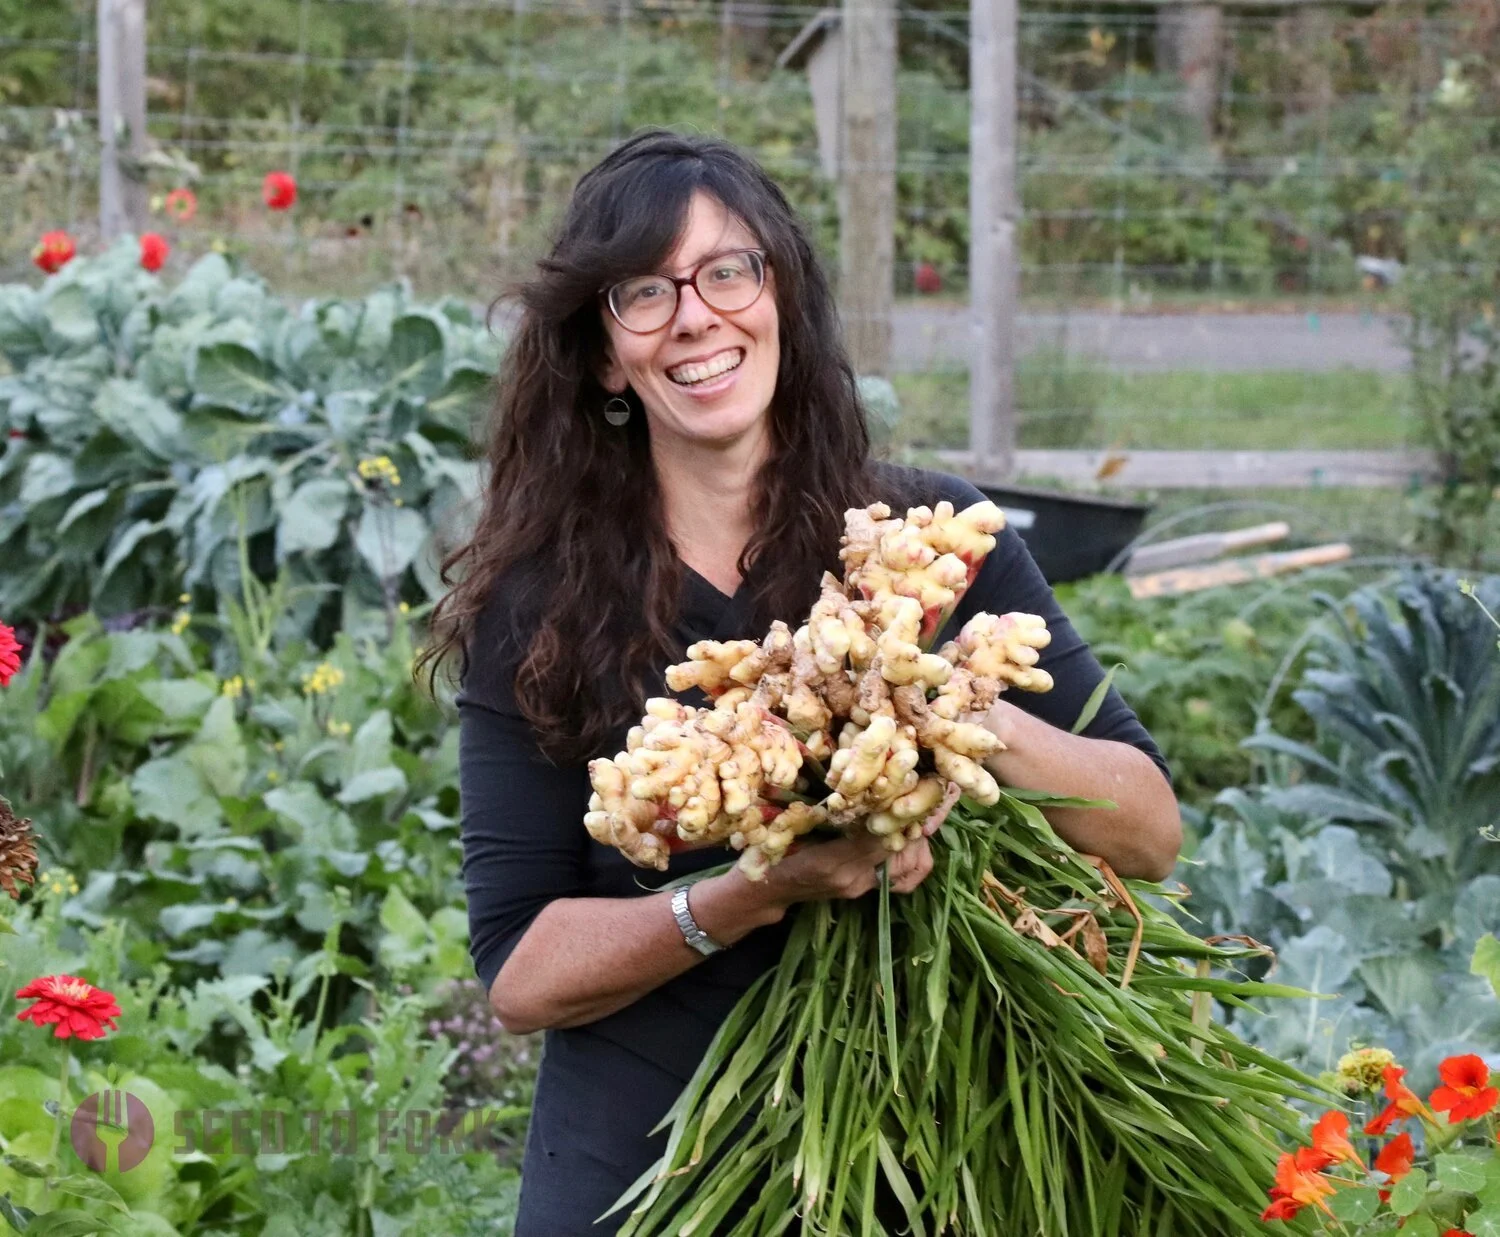
My first ginger harvest. And certainly won’t be our last. It’s now an integral part of our annual growing season, and the best part is it lets me start something during the dregs of January.
Ginger, like garlic, is propagated most commonly asexually by cloning plant material. Like how house plants easily root from stem cuttings, a piece of ginger will sprout and produce a new plant. It is the way the organic farmers produce their seed ginger.
The biggest thing for keeping your ginger happy (or turmeric, who requires the same conditions) is you must think tropical. These are tropical plants, so they want warmth and humidity and good moisture. And for those of us living in the northern climates, that won’t be around again until probably July, the kind of heat and humidity ginger loves.
Where to Source your Seed
So I have ordered ginger from an organic seed company and I have grown it from organic ginger from my local food cooperative. The Hawaiian seed ginger order got lost in the shuffle and didn’t arrive in time for my 2019 growing season, so we enjoyed it instead.
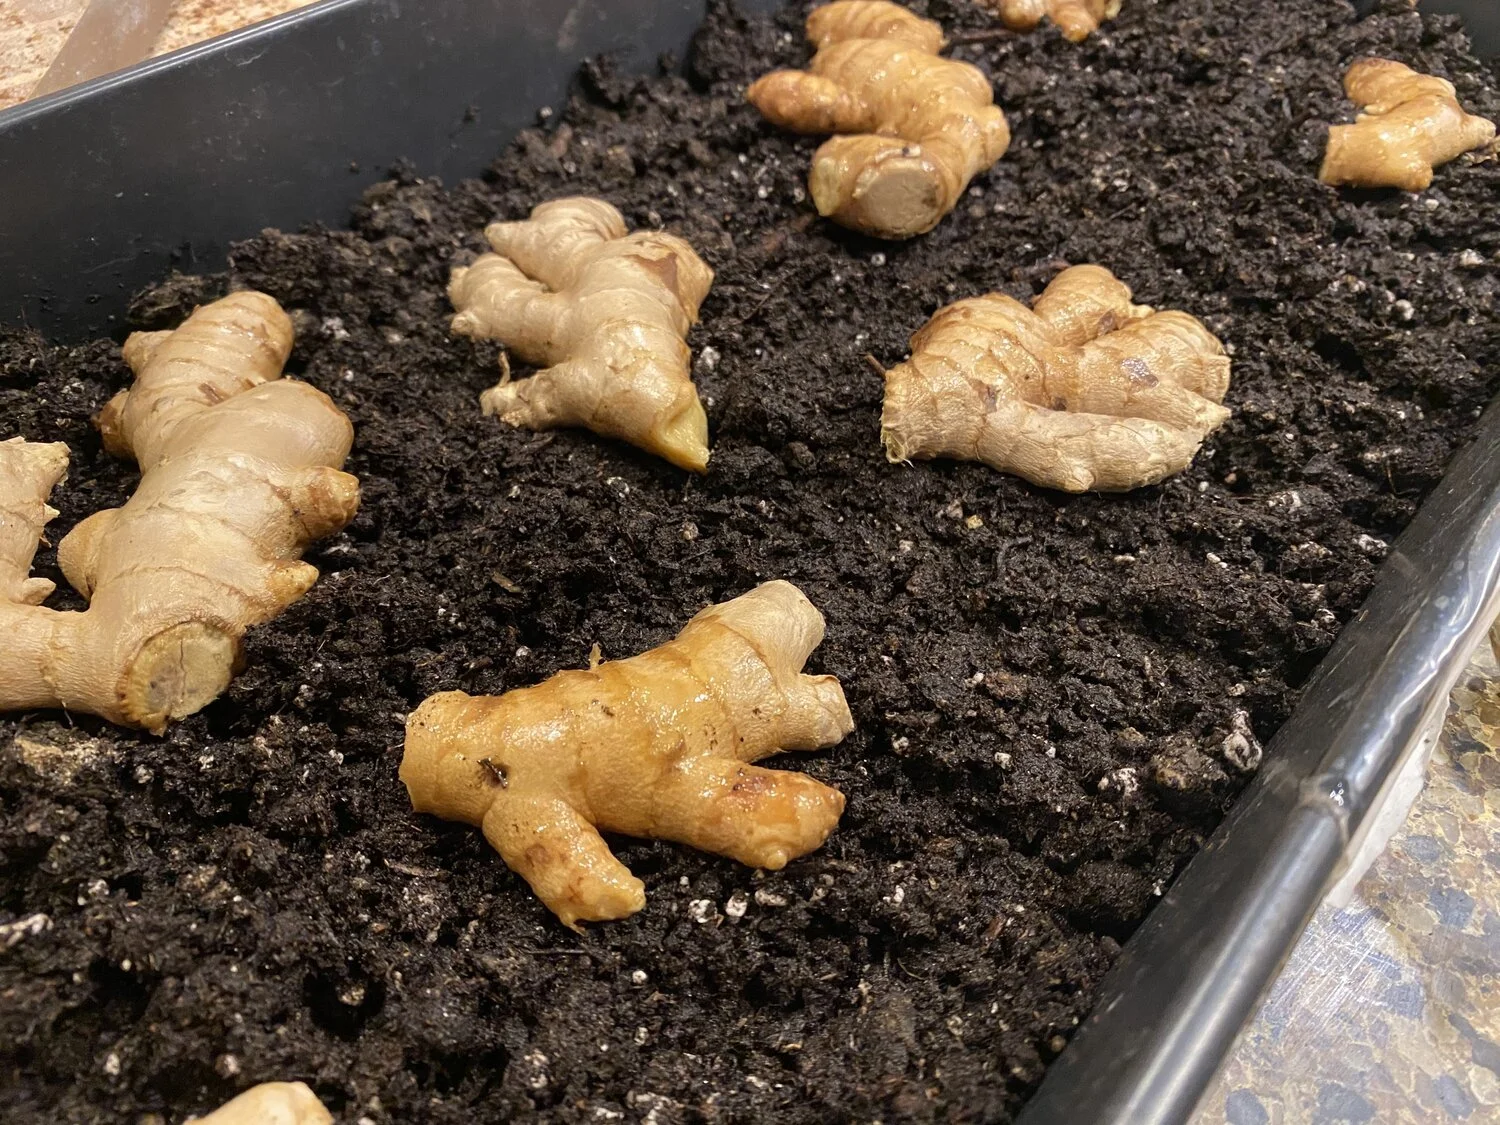
After these rhizomes soaked for a few days, I set them in a 1020 tray with my soil block mixture. I covered them with 1/2” to 1” of soil on top, covered with a germination dome, and on top of a germination mat.
Fast forward to 2020, and I decided to try with just some store bought ginger. The danger of using store bought ginger and not ordering seed ginger is that there is a higher chance that the produce could carry diseases; farmers can still yield a crop from a diseased plant, and that disease, especially fungal, could make its way into your garden. Another reason to keep your store-bought sprouted ginger in containers where you can minimize this risk.
I am a fan of sourcing ginger from organic farmers as often as possible. However, because I need my ginger in early January and shipping conditions aren’t amenable to that in our zone, I am using store bought rhizomes again this growing season.
Choosing Your Container & Medium
I was very economical with this project, and used what we had on-hand. I grew in both DIY grow bags as well as in a metal 6 gallon container. Knowing what I now know, I’d say when selecting a container, go for a wider but shallower container. Ginger grows more horizontally than vertically.
Growing ginger in Minnesota was a complete joy from an indoor winter plant to a fragrant summer patio addition.
I sort of lucked out on my medium. I didn’t read up on growing ginger ahead of growing it. But I had a lot of extra coconut coir around from a soil block experiment, so I mixed half compost and half coir together. It turns out a mixture of coir and compost is one of the preferred mediums for container grown ginger (pure luck).
I did know, though, that it needed warm soil and moisture so I kept the medium damp and on a seedling mat, and kept a germination dome on top. It took a good 2-3 weeks to sprout the first time I grew it.
And the heating pads stayed on until early June when it was warm enough at night for the containers to move to the patio for the summer. Unless you heat your home to 75 or warmer, keep the heat mat on for fastest establishment. Warm soils means happy ginger.
Then I had another happy accident this month.
Keys to Sprouting Ginger
I soaked my ginger for 2 or maybe 3 days in a dark cabinet with a heat mat prior to planting it in damp soil. It was around the holidays and I admittedly forgot about them. Eventually, I planted them — and they sprouted in about 10 days! It was so fast I could hardly believe it. A good soak will hydrate the ginger and encourage rapid sprouting.

Ginger and turmeric require the same growing conditions to do well. Turmeric takes longer to sprout and establish, and does better with lower humidity to hasten sprouting. So if you want to grow both, be sure to give your turmeric a few extra weeks head start — and less humidity — or start them both as early as possible.
I plant my ginger right below surface level and when sprouting I use 1020 trays. I will leave them in these trays for the first month or so, and then I will pot them up into deeper pots. I will transplant them several times between now and their eventual outdoor patio life this summer.

Two weeks after the first sprouts, still on heat, our freshly sprouted ginger is happy. I will continue to top with compost but as you can see, I haven’t covered them entirely.
Keeping Ginger Happy
Like with all food we grow, ginger will grow best in well-draining soils with ample moisture and fertilization. We gave plenty of food through the compost, and fertilized with compost tea about once a week. It was a hot and dry summer for us, so we lucked out with warm weather. Our deck is part shade in the height of summer, but that didn’t phase the plants.
Ginger does not like to be waterlogged, nor does it enjoy arid conditions. So make sure you’ve got drainage holes in your containers or if you’re growing the ground, be sure the soil is well-draining.
Harvesting & Storing Ginger
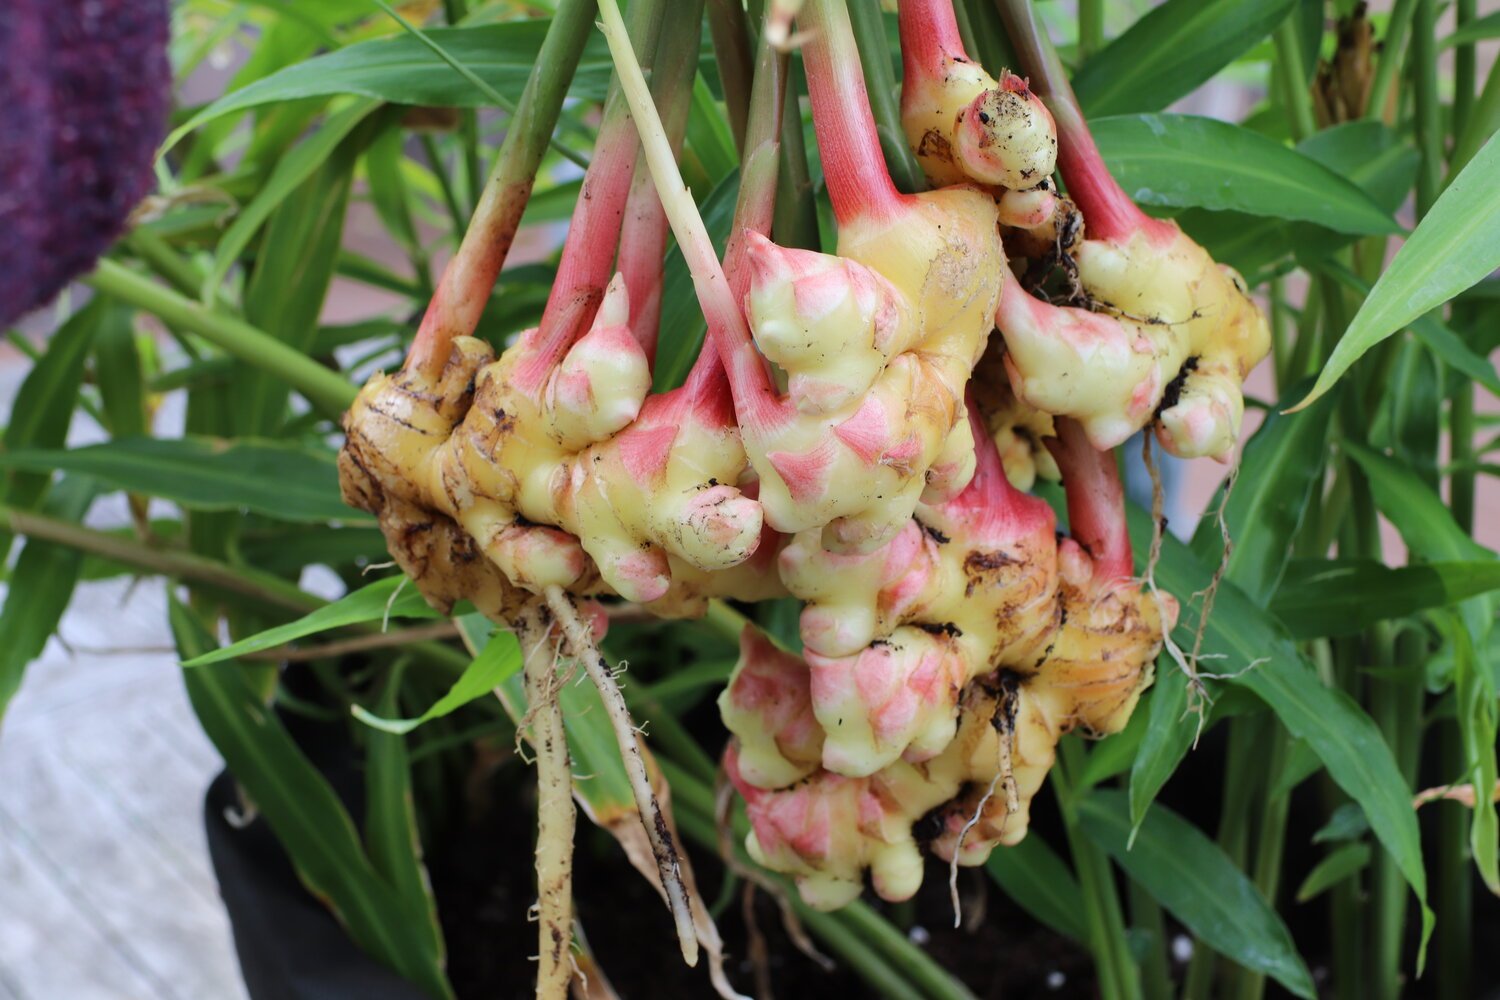
The beauty of ginger is that it is entirely edible and can be harvested at any stage. You can dig up little tubers during summer for your meals, or wait patiently the 8-10 months until it’s mature.
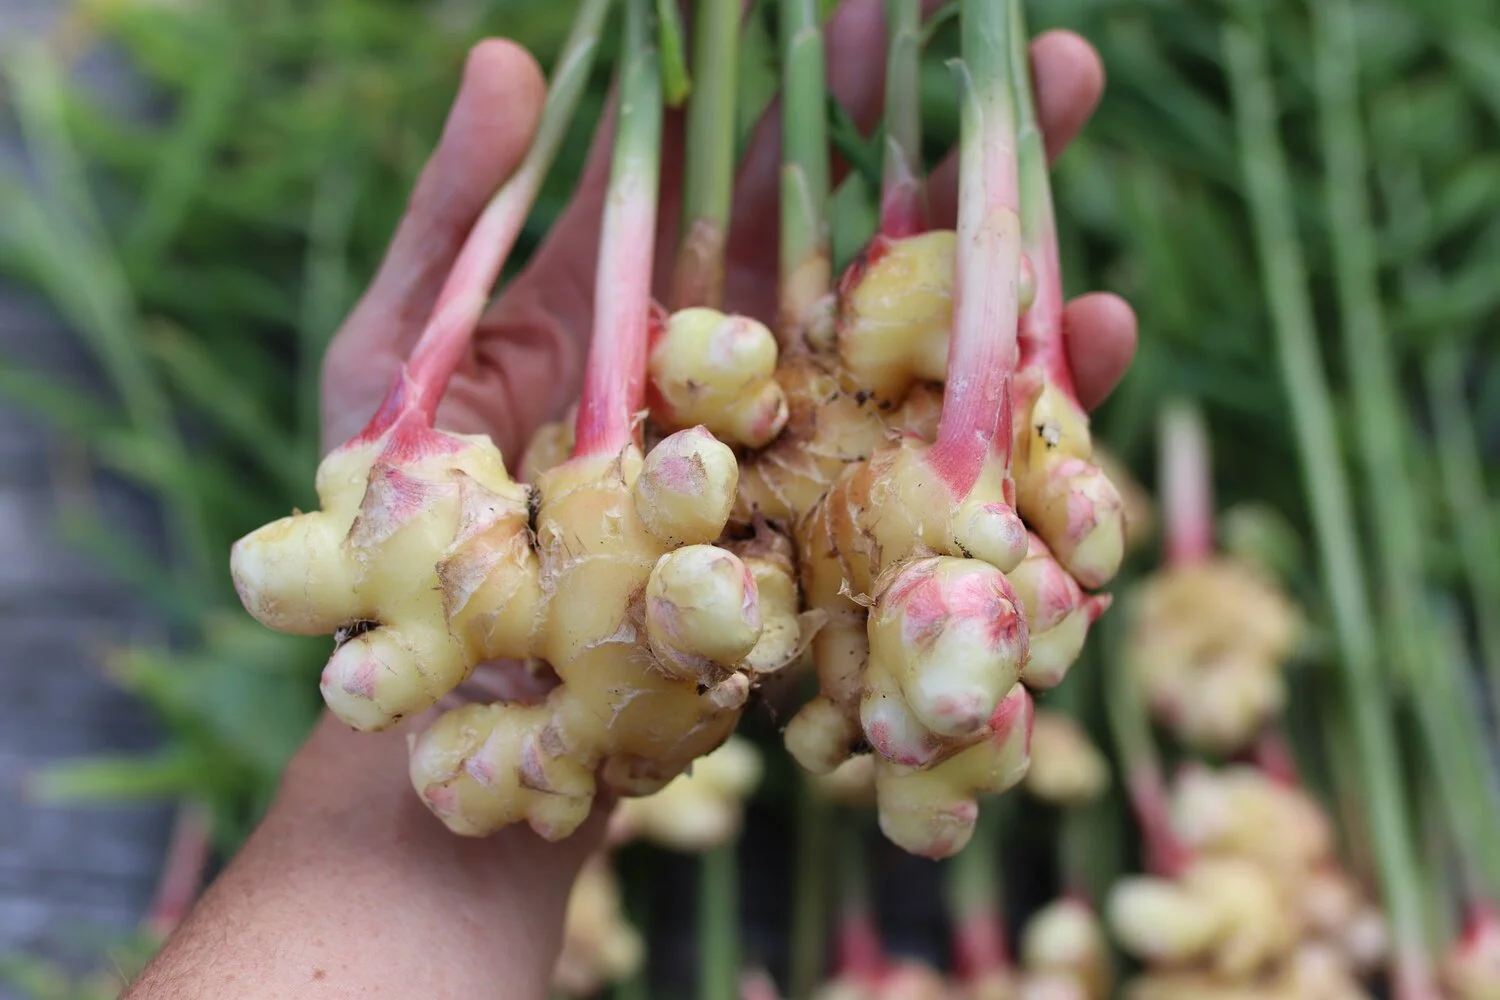
Young fresh ginger is the best we can grow here in our short climate. It is tender and the best part? You don’t need to take the time to peel it.
The reason I start ginger so early here is that I want to get as close to 10 months of growing as possible before harvesting. I harvested my ginger in mid- to late-September last year, with a few indoor spells during a cold snap before harvest.
We are fans of storing our ginger in the freezer and using it as needed with a microplane in recipes. We also sliced and dehydrated it and are grinding that as needed for recipes. We also made some pickled ginger for our vegetarian rolls (aka sushi). Like with every other homegrown food, fresh ginger from our homestead is a real treat!
Sprouting ginger is a fantastic winter project, and I hope you consider giving ginger a grow soon.