
Garlic Growing Guide
Garlic may be a somewhat mundane vegetable, but it is, like virtually every other vegetable, completely transformed in the home garden. Homegrown garlic is full of pungency (what you might call heat); pungency is a mouthfeel rather than a true measure of spiciness and it is what gives garlic its perceived spiciness.
Garlic is also a great vegetable for the busy gardener. Planted in autumn, the same time so many spring bulbs are tucked into the earth, garlic rests for much of winter. Planted around or a few weeks after your first hard freeze, this gives the garlic cloves time to set roots — but not shoots — before winter sets in. Meanwhile, you carry on, knowing come spring those cloves will break dormancy as soon as favorable conditions ensue. In cold climates, garlic will sprout up in early spring, reaching maturity by the middle of summer.
For us, our garlic reliably sprouts by the middle of April. Lately, it seems to sprout right before a massive April blizzard. They emerge only toget blanketed with heavy, wet snow that quickly melts, drenching the thawing and warming soil with an early precipitation. At first, I fretted whether to cover them or not, but alas, my busy life and natural curiosity for cold hardy gardening inspired me to let them be. They have always victoriously emerged after late season snow events. I now confidently rejoice at their early spring pokes of green, confident of their phenological awareness that the seasons are shifting.
Hardneck vs Softneck
As the name suggests, the difference between hardneck and softneck garlic is in the main stem of the plant. Hardneck garlic produces a stiff central flower stalk while softneck grows absent a hard flower stalk, and is thus easier to braid. Softneck generally produces more reliably in warmer climates while hardneck is well-adapted to frigid winters. Softneck stores longer, but produces smaller cloves though in higher quantities per bulb; softneck can be a bit finicky here in our USDA Zone 4a. Flavors also vary quite a bit among garlic varieties.

The benefit of growing hardneck is that the stiff central stalk produces a flower, called a garlic scape. This bonus harvest must be removed to signal to the plant to fatten up those underground bulbs — otherwise the scape will flower and produce bulbils, another clone of the mother plant that can be planted though more commonly harvested before flowering. The scape can be used in the same way one would use garlic. Our favorite way to consume scapes is Garlic Scape Pesto.

While we continue to attempt to grow softneck varieties, hardneck performs more consistently in our very cold climate. While hardneck does not store as long, they produce markedly larger cloves that are easier to peel. We dehydrate aging hardneck garlic bulbs in February to use as garlic powder until fresh garlic is back in season come July or August.
Preparing the Soil
Like with every other vegetable, the quality of your soil is one of the most instrumental and influential factors in your gardening success. Garlic is considered a heavy feeder, so be sure to provide plenty of nitrogen to your garlic bed. We take a one size fits all approach to tending and feeding our plants, and it seems to work well for us.
We add our slow release organic fertilizer at planting time, along with a very generous layer of compost mulch. We broadcast fertilize with the slow release organic fertilizer again in spring when all the plants are about 6” tall, sometime in early May usually.
Mulching your garlic is recommended to keep the bulbs moist and protected from frost, prevent heaving, and to reduce weeds come spring. Our mulch is also a universal in our garden: we mulch with compost. For everything. It’s easy, economical, nutritious, effective, and I highly recommend it.

Garlic likes to grow in a neutral soil, much like all vegetables, with a pH between 6-7. As a heavy feeder, it is helpful to know where along the pH spectrum your soil falls as some micronutrients are more bioavailable at different pH levels. Too acidic (below 6) or too alkaline (above 7) would be good information to know as it may impact availability of micronutrients. Most extension agencies offer soil tests for a nominal fee if this is something you haven’t yet explored.
Plant Spacing
As a shallow rooted plant, I prefer to give my garlic its own planting space. I don’t interplant garlic with any other crop. This eliminates potential crowding or shading from nearby plants. I always plant my garlic in a block, 6” between cloves within a row with offset rows also 6” apart. When I do this, each plant is spaced 6” on center in all directions. I would not plant any closer, even though I’ve read 4” as a potential plant spacing. I could go farther apart between rows, but experience has taught me that this spacing delivers consistent and large bulbs.

Grown as a clone, a single garlic clove is planted and produces an entirely new bulb the following summer. I plant my garlic 6” deep. This depth includes my 3” of compost mulch already on top of the bed. If you are going to add mulch after planting, the recommended depth is 2-3”.
Weed Pressure
It is important to keep the bed as weed free as possible. Weeds can dramatically reduce bulb size so this is paramount to growing the strongest possible garlic crop. Because of our no till gardening, weed pressure is practically negligent in our garden, so maintaining a weed free garlic bed is mostly effortless.
I highly recommend considering compost as your mulch. This single method of mulching has been transformative to our gardens and made weeding our most despised invasive weed, creeping charlie, a cinch because it comes right out of the fluffy compost mulch. Leaf mulch, grass clippings, and clean straw are three other excellent options for mulching your garlic (and all your beds).
Mulching also helps to retain moisture, which is important as garlic likes consistent moisture.
Even Moisture
Garlic needs even moisture, especially during the bulbing period. Be sure to irrigate if you do not receive adequate weekly spring and summer rains. We aim to supplement with 1” of water weekly if we are experiencing dry conditions. On years that are wetter, with more than 1” of water weekly, we simply do not supplementally irrigate the garlic.

A few weeks before the garlic is mature is the best time to stop watering. Of course, we cannot turn off summer rains, but definitely consider summer rain storms and time your harvest to be a good distance between storms for the best quality bulbs for storage. This allows the bulbs to start to dry out. Each leaf you see above ground correlates to a paper wrapped around each clove.
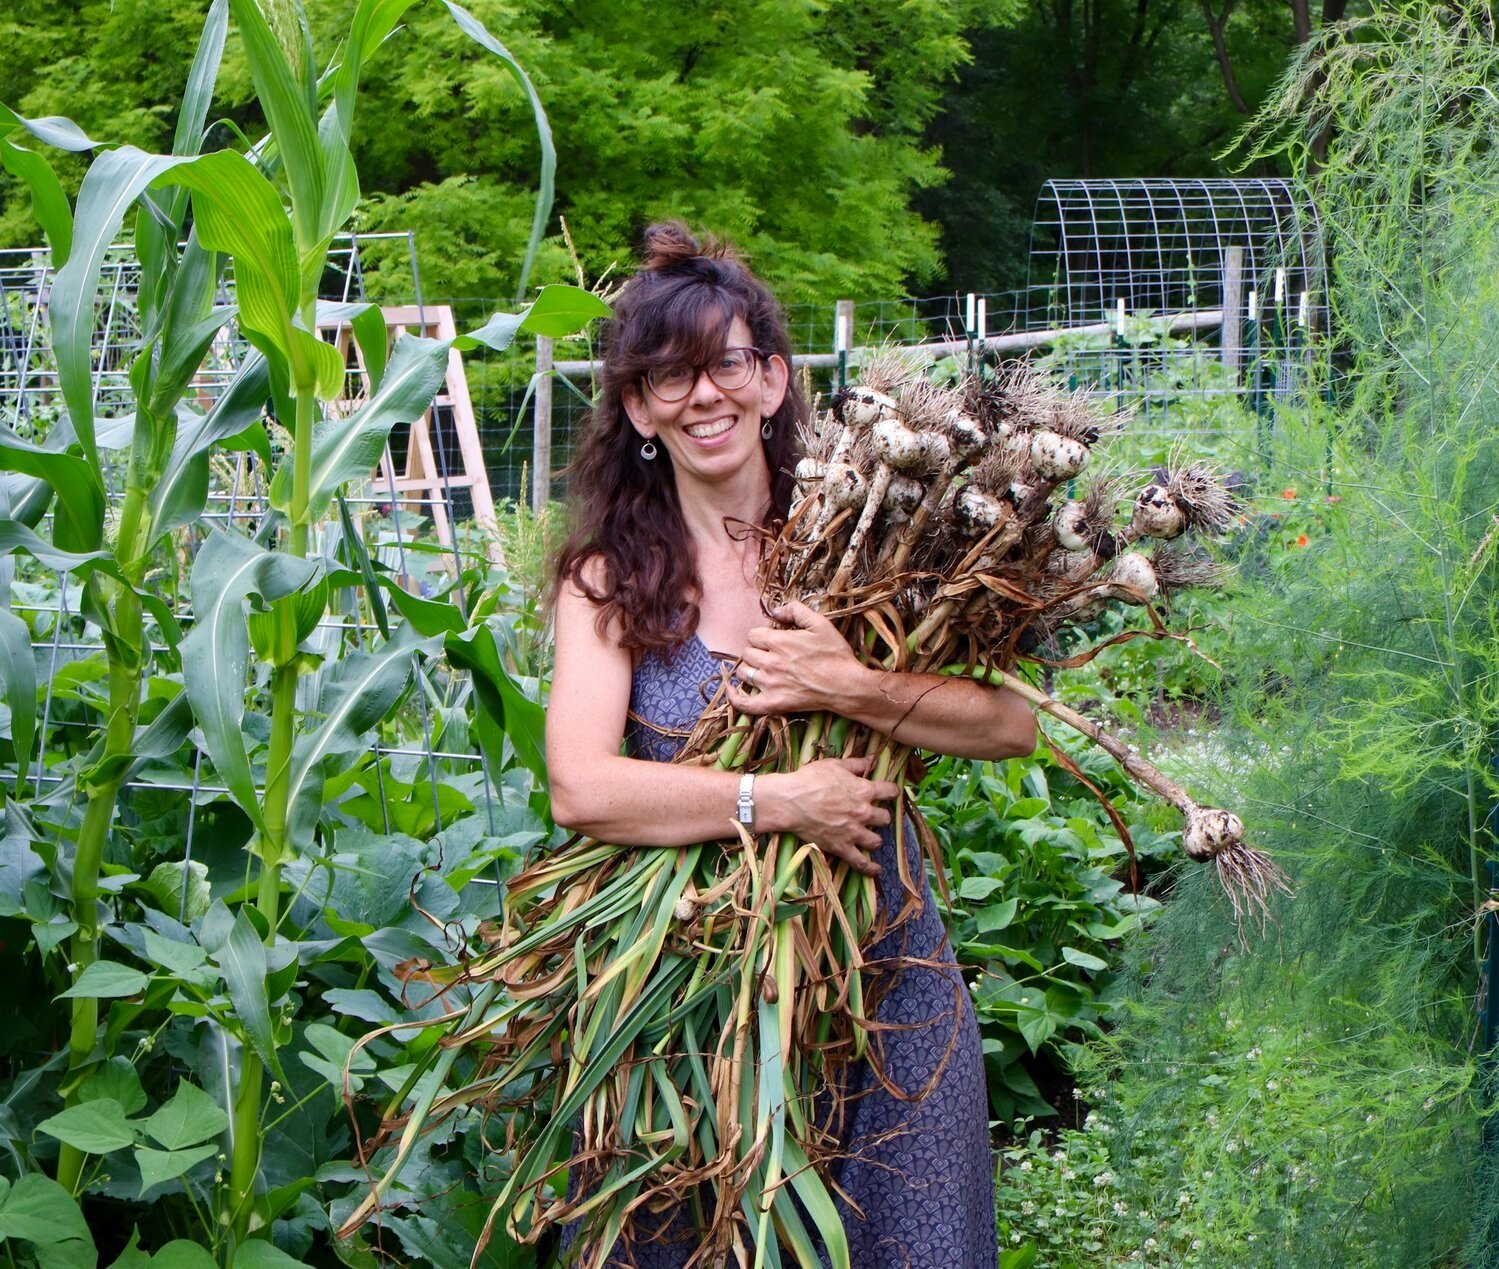
Harvesting, Curing, & Storage
Garlic is harvested after at least 3-4 of the lowest leaves have turned yellow. I usually dig up a test bulb or two in mid-July to see how they are doing, and to gauge how mature and dry the paper skins are becoming. Depending on where you live and the environmental conditions of your current growing season, this could be anywhere from July to August. Knowing when to pull your garlic could be the difference between under mature bulbs with few papery wrappings for good storage quality all the way to too many paper wrappings if you wait too long.

I try to harvest before more than the 5 lowest leaves have turned yellowish-brown. Once harvested, it’s recommended you gently brush off the dirt and lay flat or in small bundles to cure for 2 to 3 weeks in a dark well ventilated place that isn’t too hot. Once the entire plant has dried, snip the tops and trim the roots of the garlic off. For best quality, store in a cool location with moderate humidity. Do not store in a humid basement or your refrigerator.
We always set aside our biggest and best bulbs for planting in the fall to keep our garlic stash going. If you grow enough, you should have plenty for both fresh, year-round eating and to plant in the fall. For our family of four, we plant at least 75 cloves a year to maintain a healthy supply of garlic for consumption and planting.
Happy planting!