
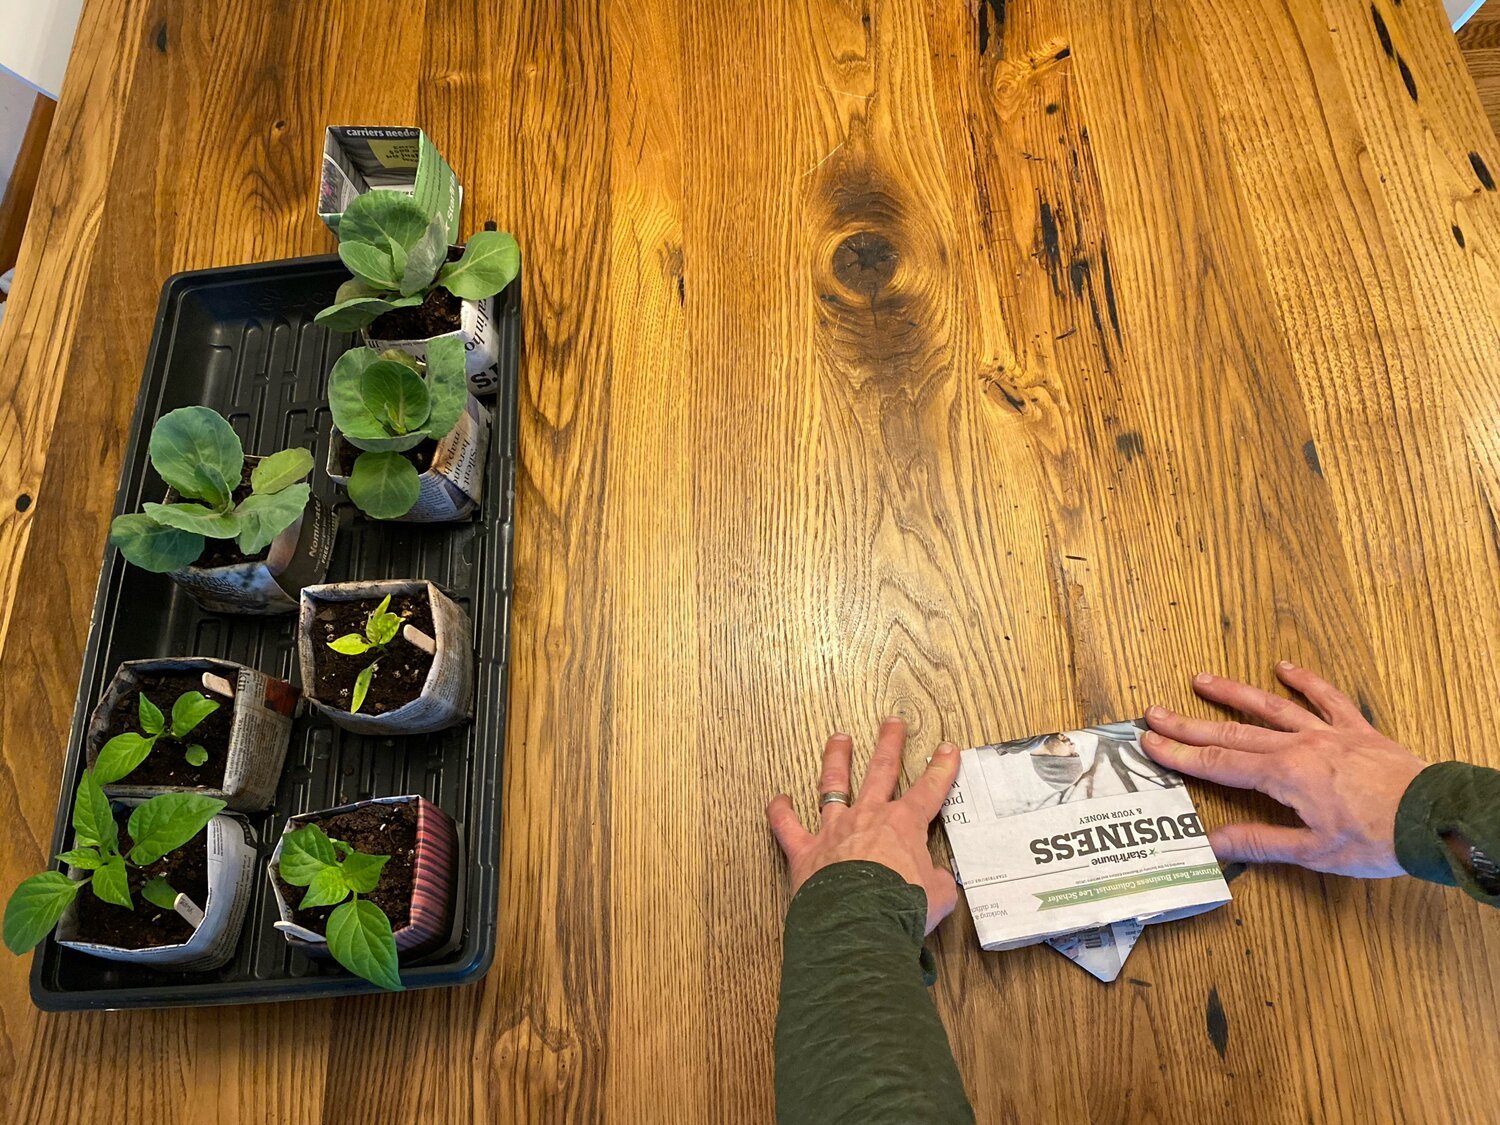
How to Fold a 3.25” Newspaper Pot
I recently shared a video (linked at the bottom of this post) of how to fold a mid-sized newspaper pot on my You Tube channel and I’m following that up with step by step photo instructions here. I hope you find a use for these very fun, kid- and environmentally friendly DIY compostable pots.
We will continue to use these pots for many years to come. Actually, I don’t think we will ever purchase pots again for seed starting. These are sturdy, make use of materials on hand, compostable and this is a really versatile size pot. I hope you find this photo tutorial useful. Please leave a comment below to let me know how they go for you.
Happy growing!
meg

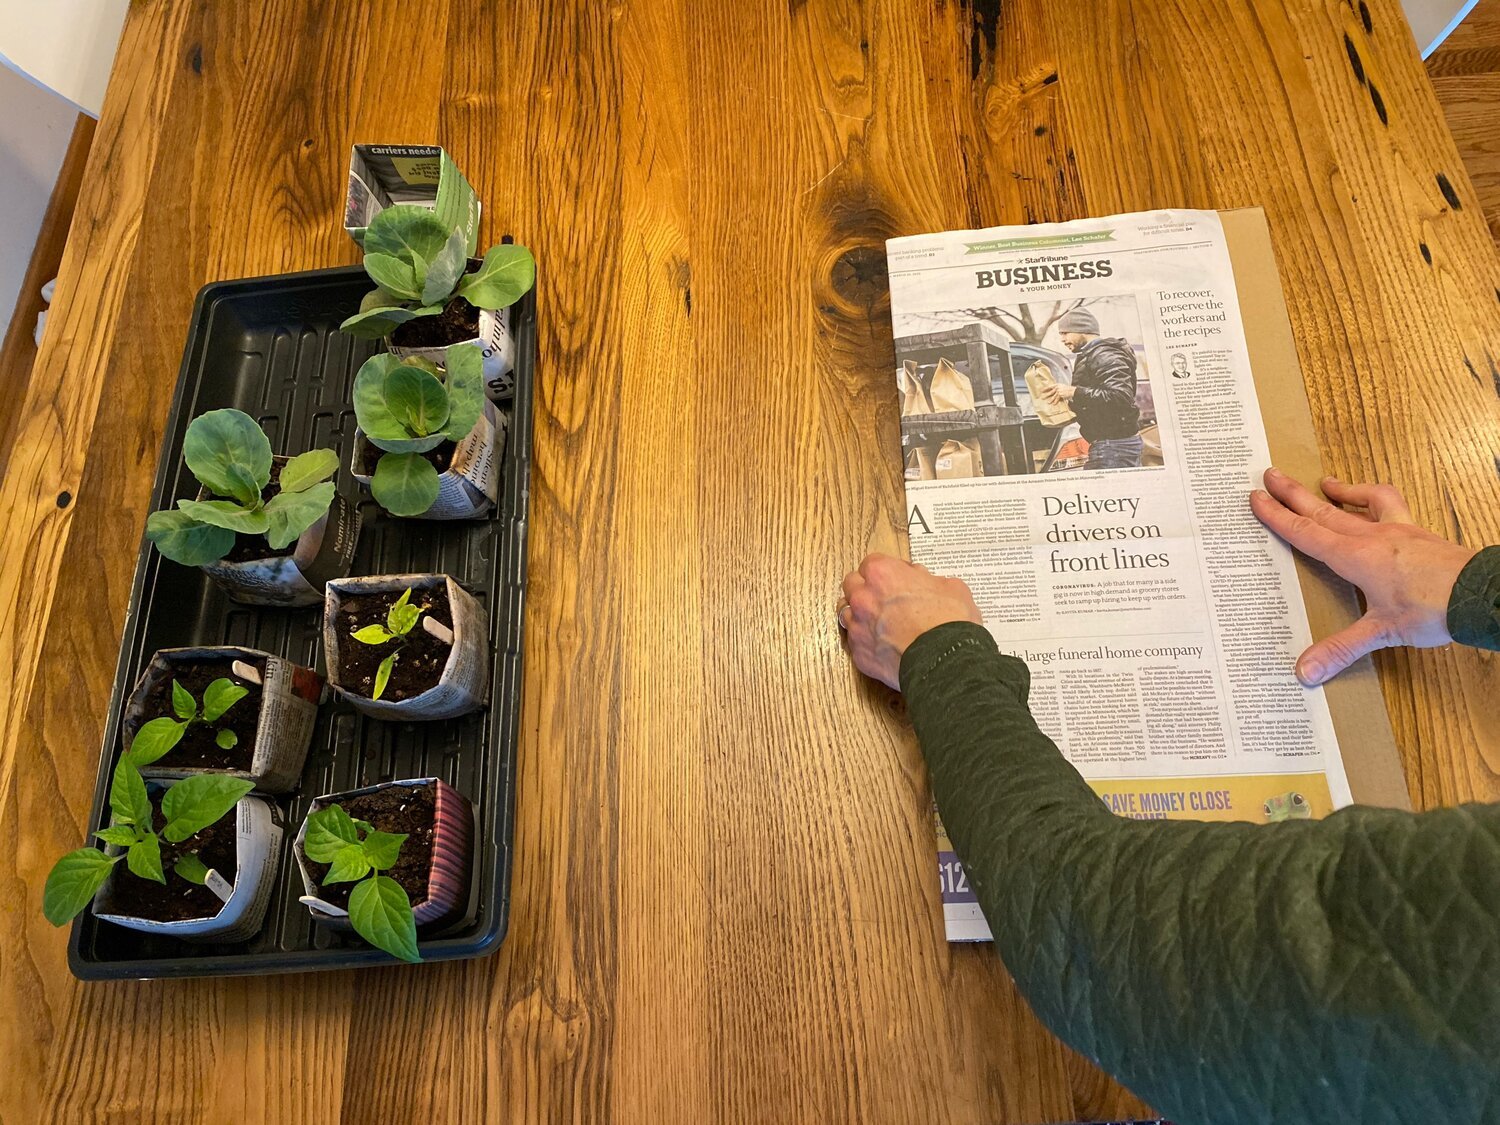
The base for this pot is a full sheet of newspaper, ideally it would be 24” wide. Ours isn’t, so we had to make a template that was 12” wide to get the pot to be this size, which fits 18 pots into a standard 1020 tray.
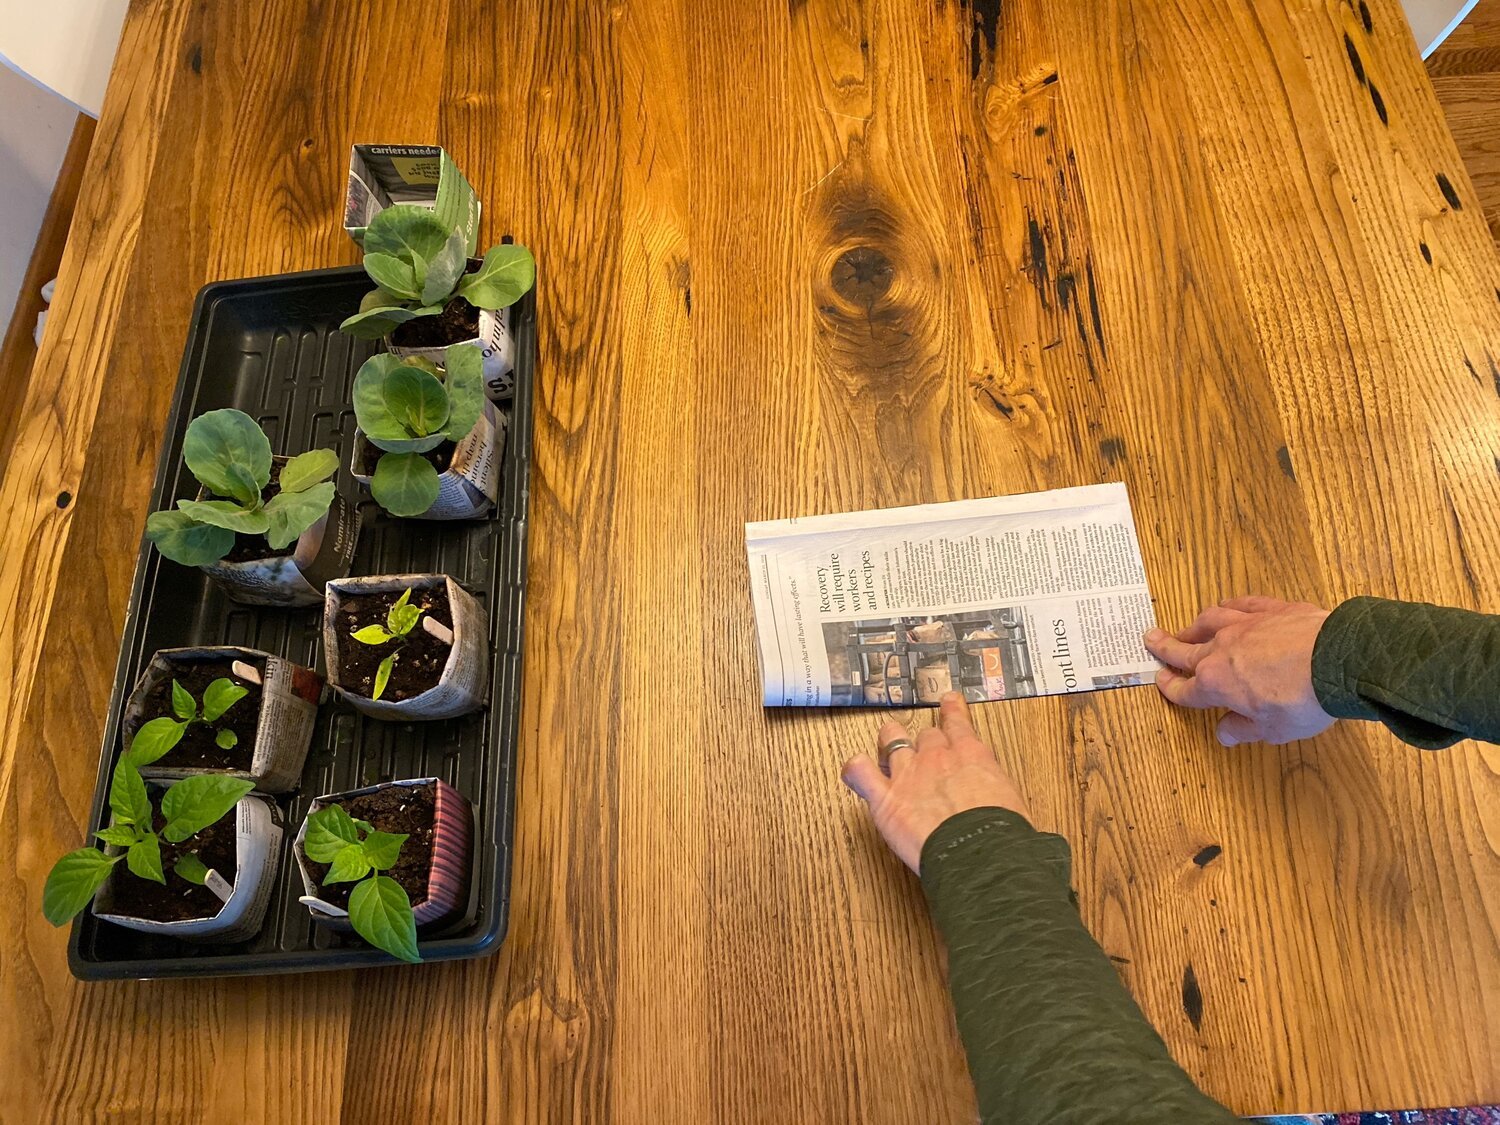
Fold the paper in half lengthwise and crease on the template. Remove template and crease again along the fold. We are establishing the right width for the pot in this step.

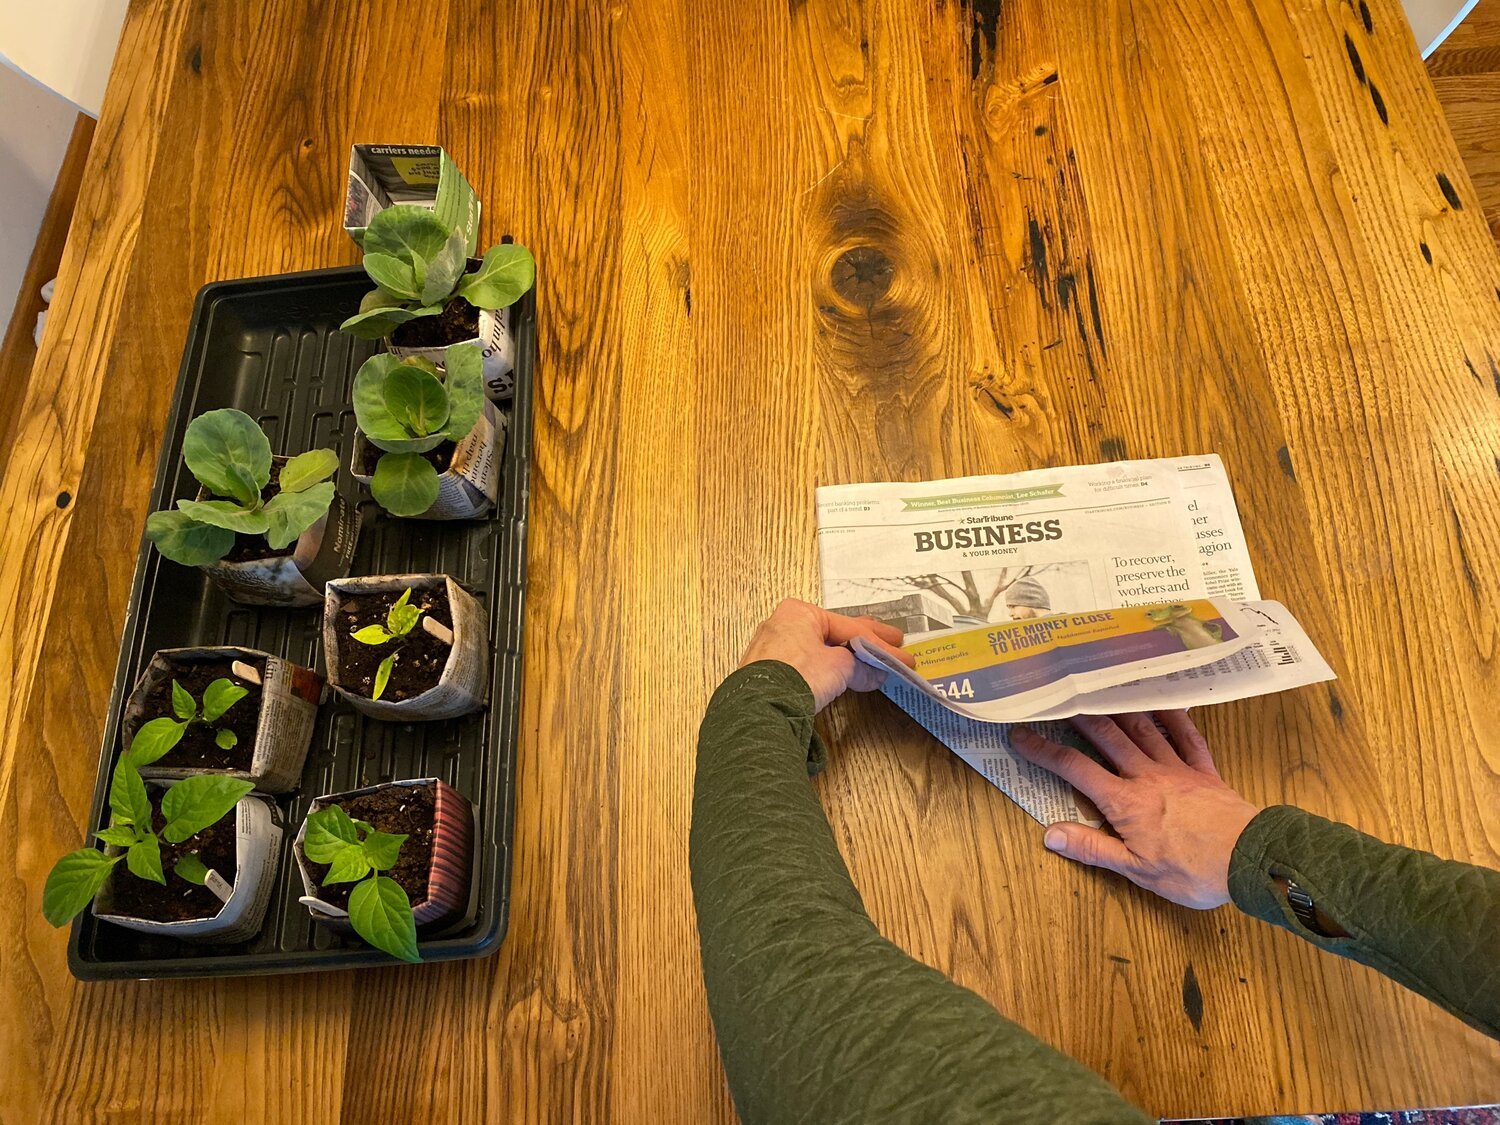
Fold the paper in half again and crease well at this new seam. We will be working from this seam over the next many steps.
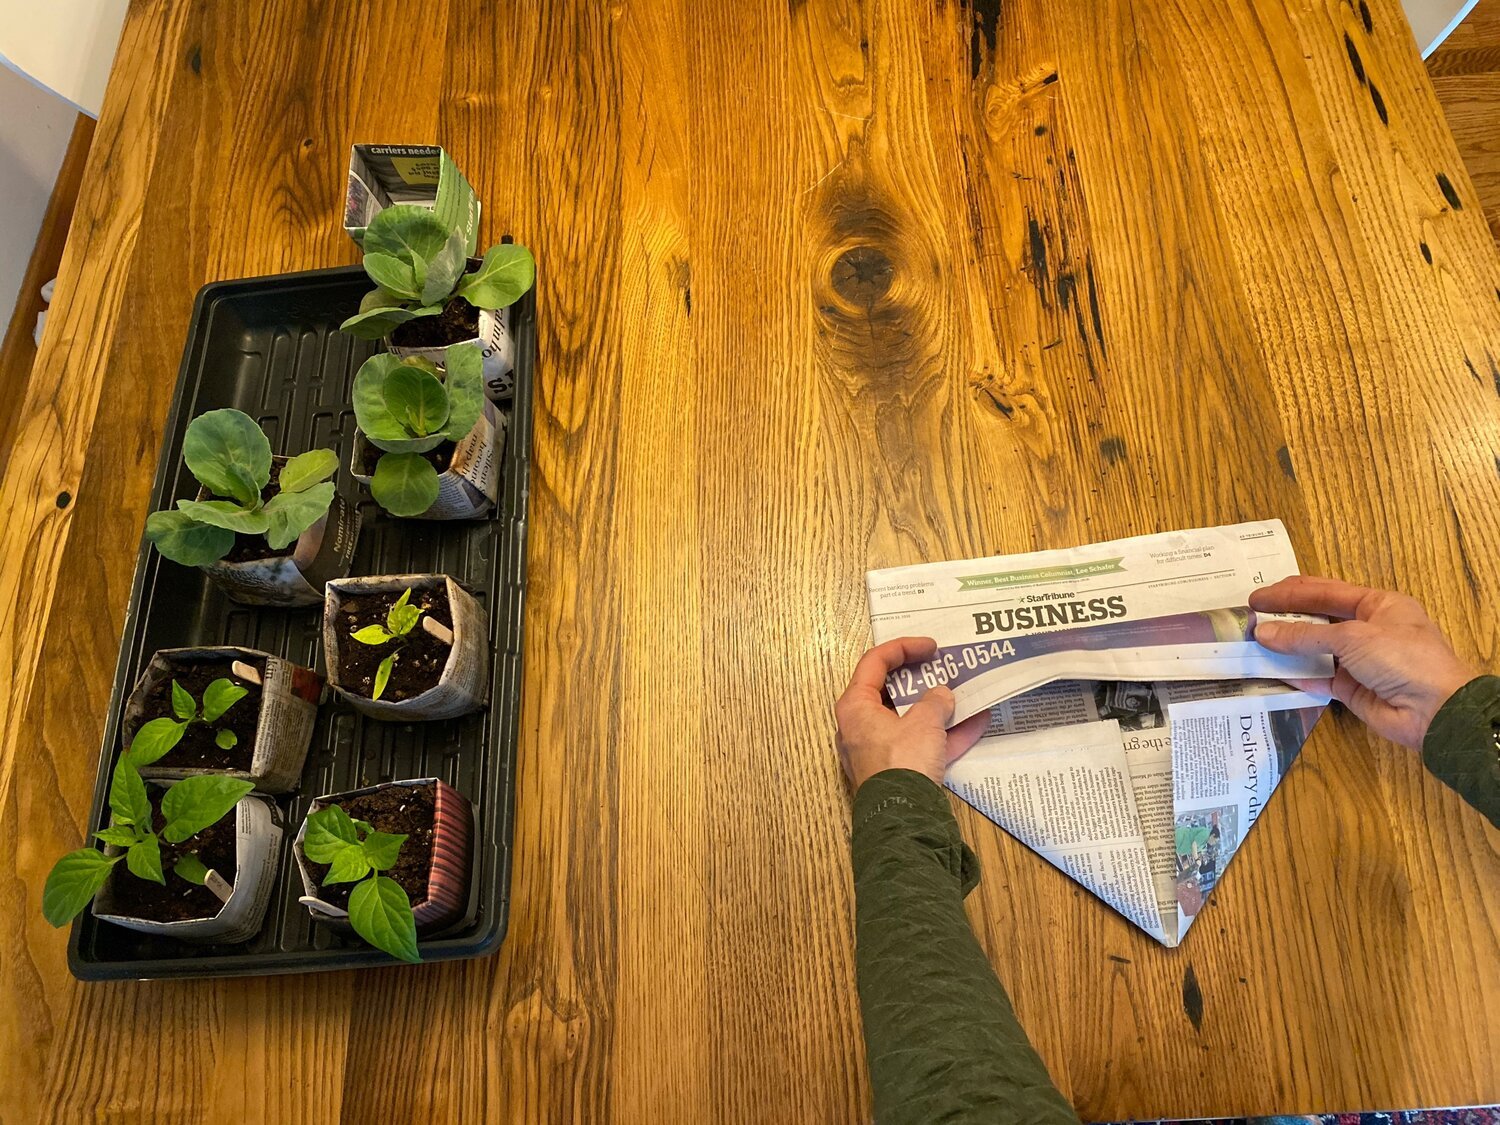
Fold paper in half one more time lengthwise, with crease edge on your right. When done creasing open back up. We will use this new middle crease in the next step.

Time to shape the pot! Fold down each edge toward the middle of the paper, making two triangles that meet at the middle crease.

Those folds we just did will eventually become the bottom of the pot! Now we are ready to start shaping the sides.
Take one of the two halves of loose paper (it’s two sheets) and fold them up to the triangles. We will make a nice, strong crease here and open it back up.

Now we need to make this half as wide by folding it in half again, which will become two of our sidewalls of the pot.
Double the fold down in half and line the loose ends of the paper up to the triangle folds. It’s okay if the triangles flap open - they probably will. We will fix that in a few more steps.

More creasing! I cannot underestimate the value of a good crease for these paper pots. Once you have this creased well, you can fold it down over the seam and partly covering the triangles.

Here’s what mine looks like all bundled together and ready to be flipped over. We are getting close now!

Now we are back to folding toward the middle crease, but this time we are folding more paper, including what we just folded and part of the triangle. Fold half of the paper lengthwise toward the middle seam. And yes, crease it well!

Well-creased and ready for me to fold down the other half.

Folding the other half down and I will crease that new fold down really well before proceeding to the next step.

Now I rotate the paper so the tip is pointing toward me. We now have to fold the other sidewalls, just like we did before, but these ones are already folded in half lengthwise. The other tricky bit is we need to tuck these ones in to make the pot sturdy.
So I fold what is left in half, making a new crease as close to the triangles as possible, just like we did on the other side.

Now I open it back up and prepare to fold in half again down to the same seam, just like we did on the other side.

Here it is folded down again. Now comes the trickiest part: that part I just folded down needs to be tucked into the folded down bits from the other side that are right below them in order for this to become a self-standing, 3D functional thing.

I rotate it around so it’s right side up, and now I will bring this newly folded last piece up toward the tip of the triangle (aka, bottom of pot).

Now I am using my index and middle fingers to pull back the bits of paper so I can tuck this right against the triangle side, folding it right against that ‘wall’.
It takes a bit of practice to hold it all together while folding this down, but thankfully the pots are quite sturdy regardless. Especially because you were so good at making creases all along the way, giving the pot its shape.

It’s getting pretty thick at this point, but it’s still important to reinforce those creases. Push down firmly on the straight sides, which are the walls of the pot. We are almost there!

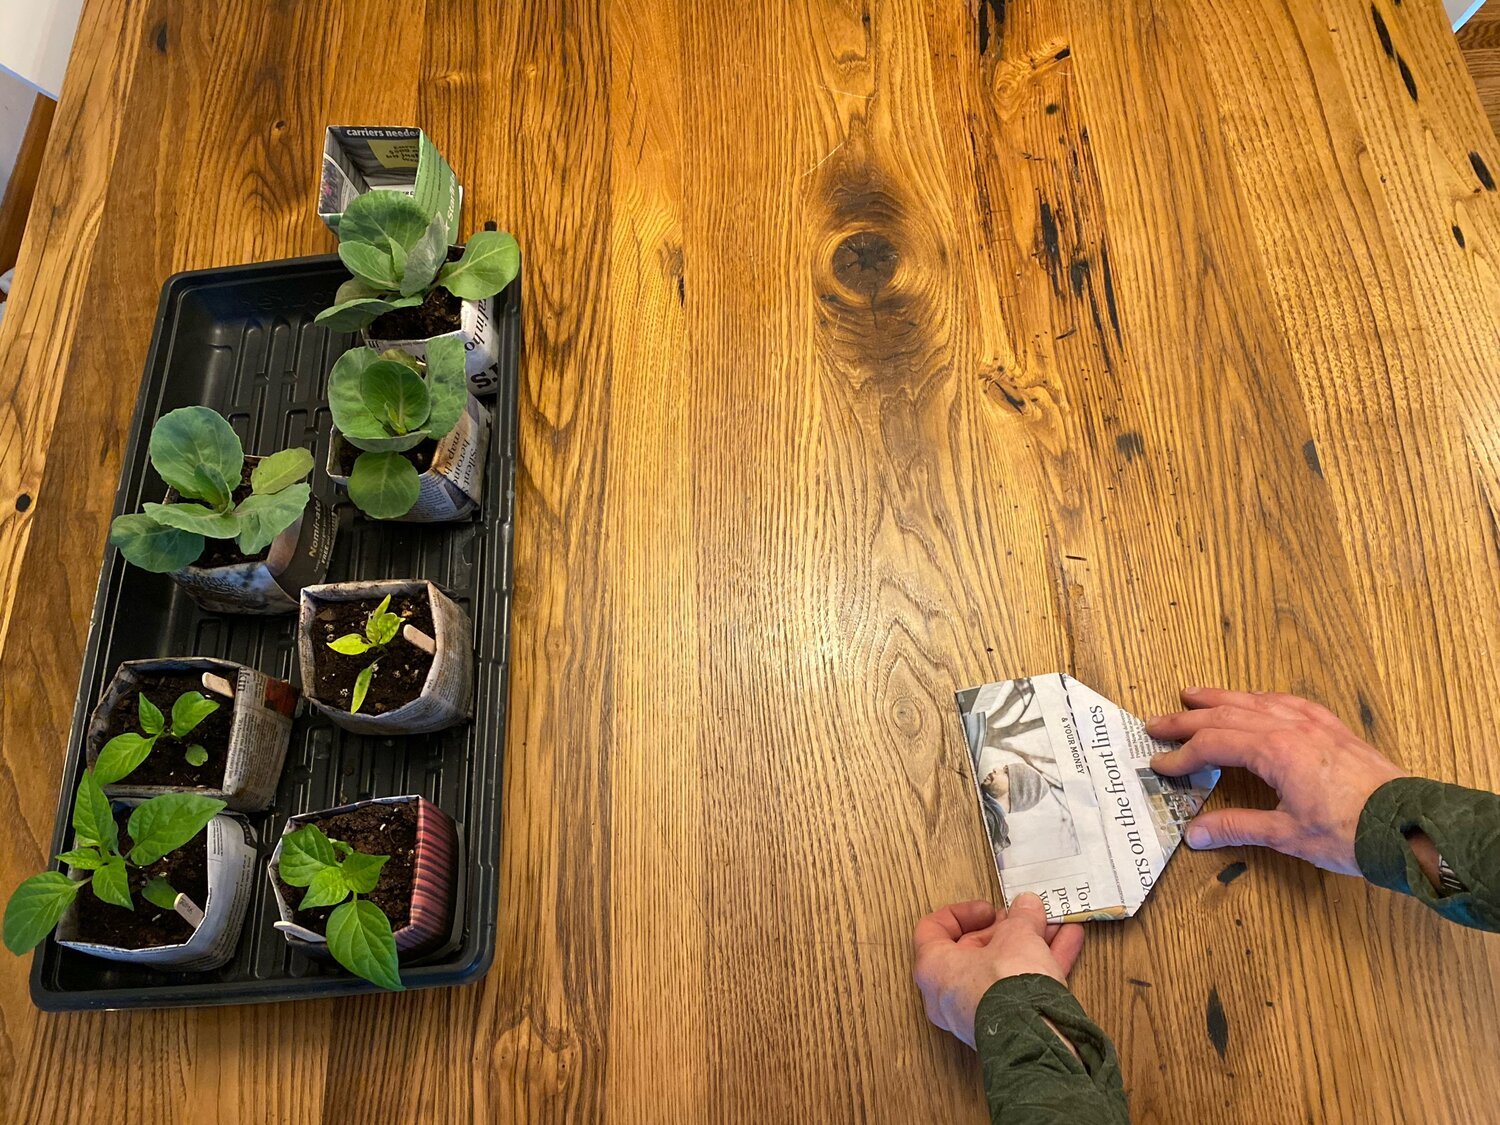
The final fold in half happens next. You will fold it in half again, creasing it as well as you can.
This is the final creasing, I promise! You take the tip of the triangle and bend it up toward the top, sort of like moving it from 3 o’clock to 12 o’clock. And crease the bottom down. While you’re doing this, the bottom side will want to pull up off the table and that’s ok.
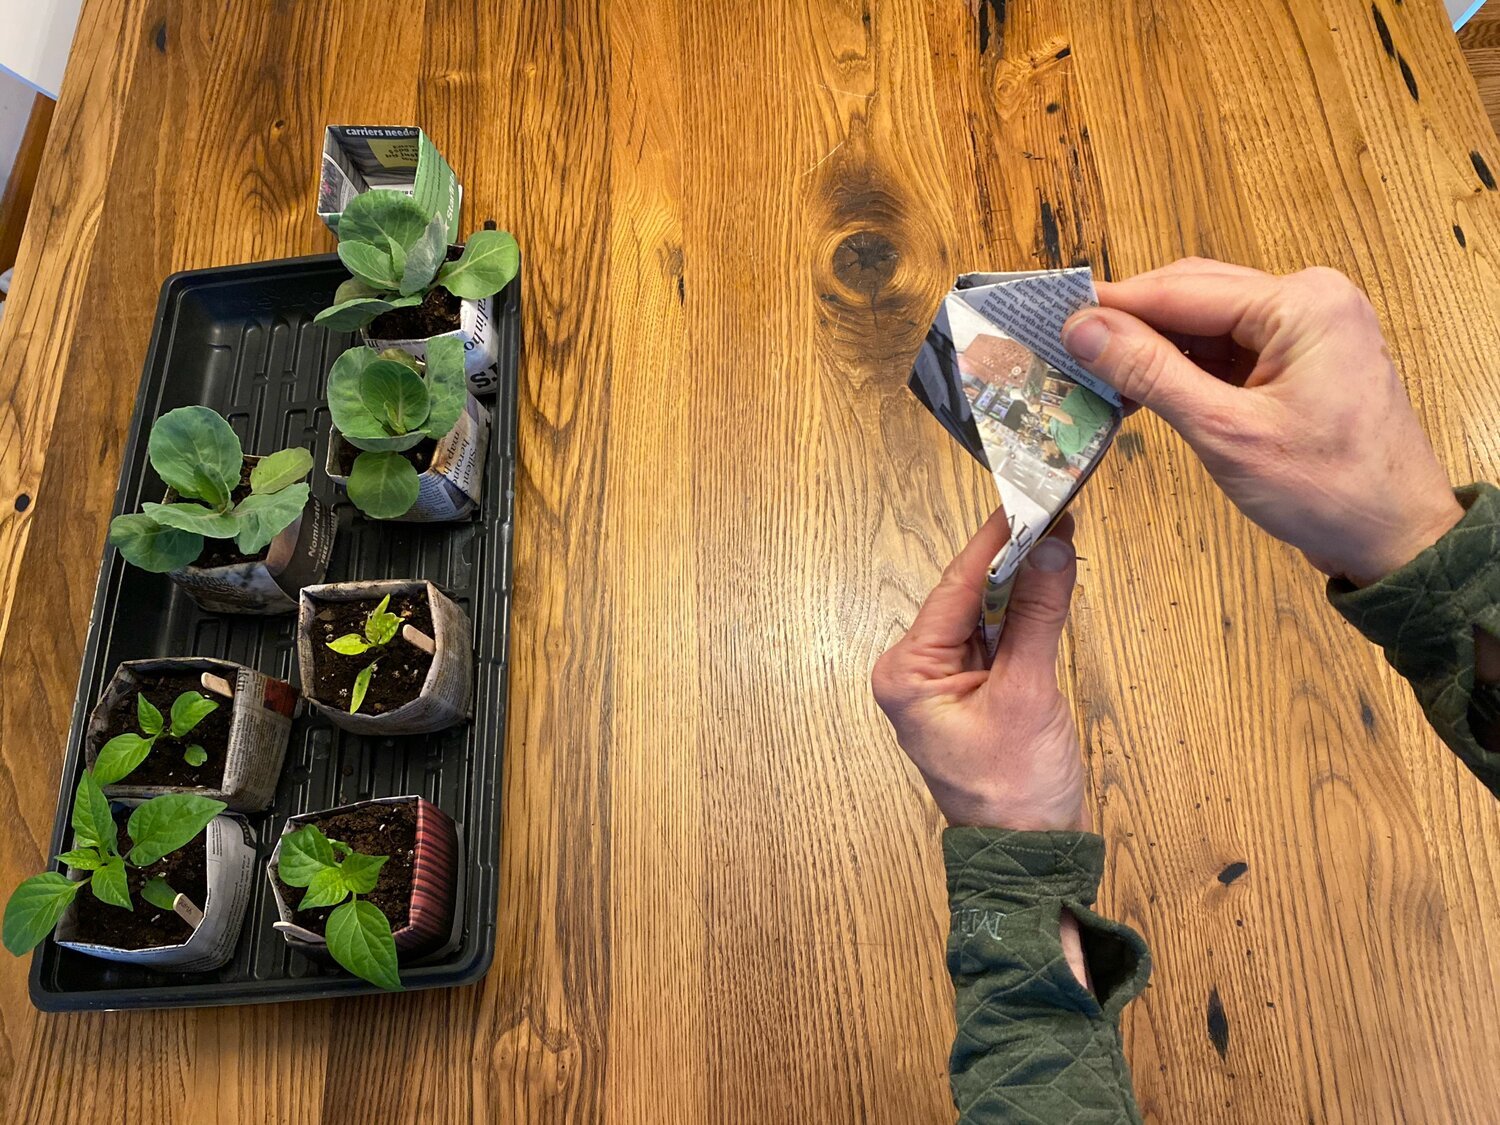
Now you should have a littler triangle. And the fold that makes the right angle coming up off the table also needs to be crease, which is what I’m getting ready to do here.

This is what the bottom should look like when you finish creasing all these new folds. As you can see, we have half a pot, so now it’s time to open up the middle and help shape the bottom to be flat.

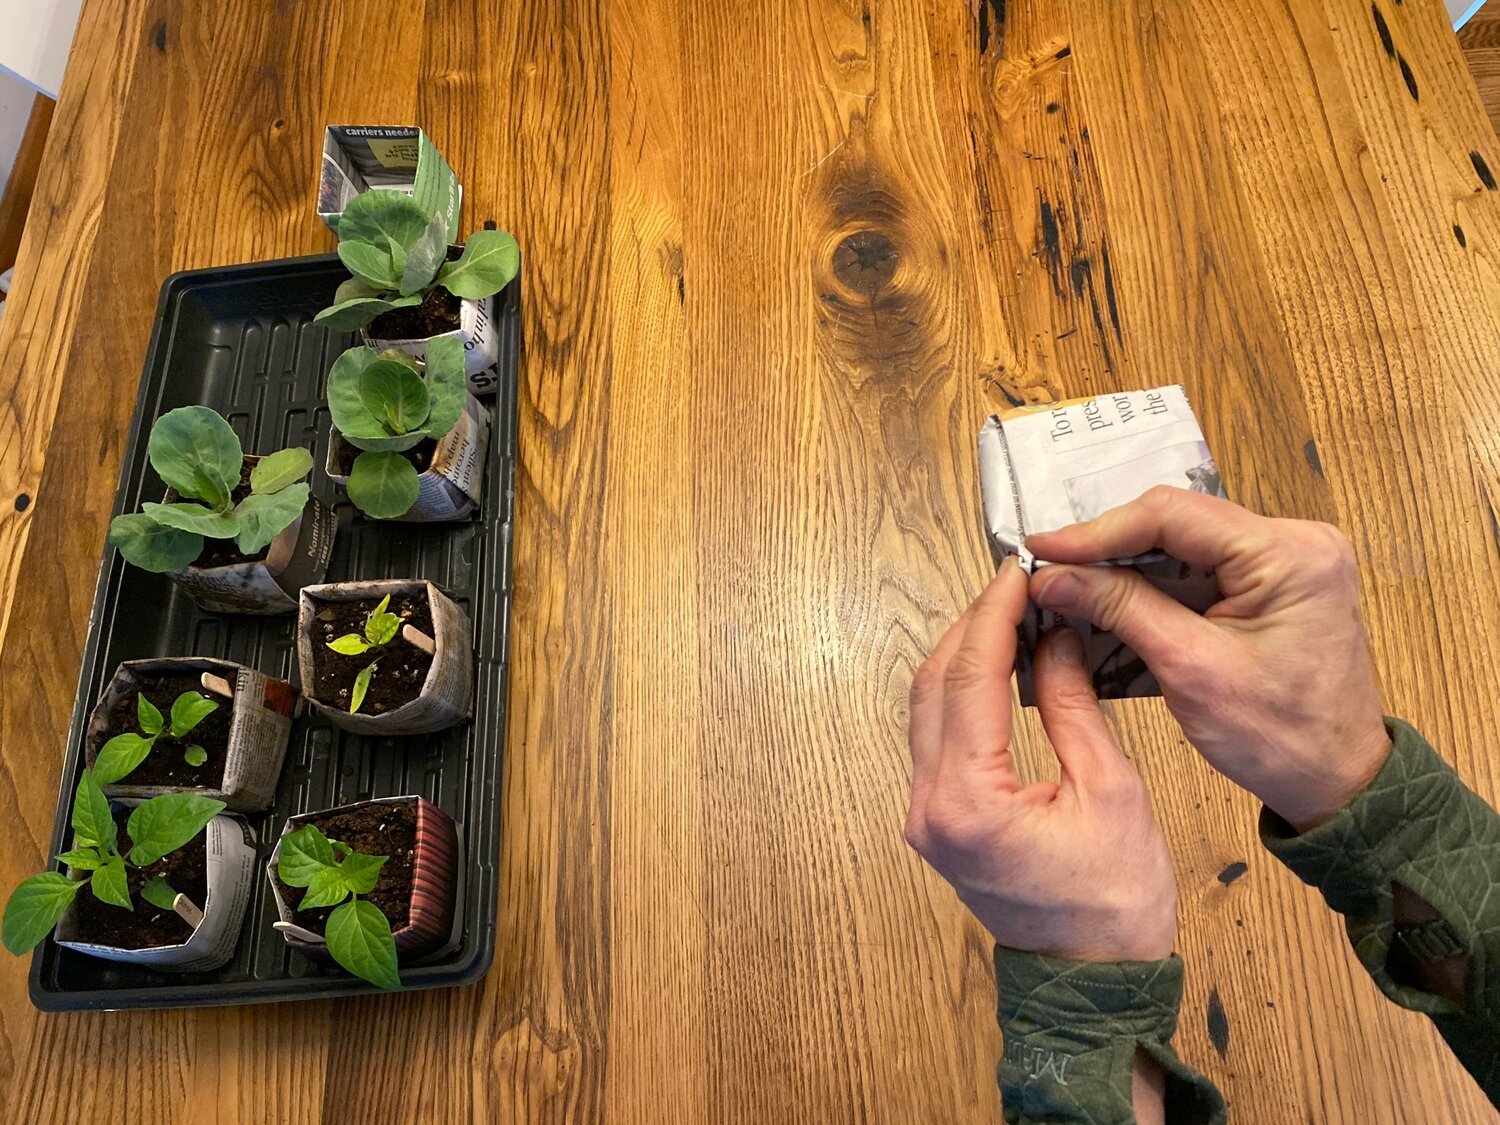
I open the folds back up and insert my hand to spread apart the middle/inside of the pot. I work carefully to open it as square as possible. By doing this, now the triangle on top will want to bend. We just gave it shape with the creases and will help flatten it next.

Next, carefully find the diagonal crease where the triangle was made a few steps back and start to bend down this triangle to the corner to make the base square. This is the hardest part. Saved it for the end!
Got it down, now just a little more creasing at the corners and it will be done! The base will sit flat once you get soil in there. Just a few pinches at each corner and that’s it.
